More on the signal generator
Signal Generator build
When I built the Diode bridge - I needed to generate signals to test it. This is how I built the Signal Generator I used to test them. A signal generator is a helpful tool to learn robotics at home with. It can be used to test motors, servos, and other electronic components. It can also be used to generate signals for a microcontroller to test it’s input pins. They are fun to hook up to an oscilloscope and see what the signals look like.
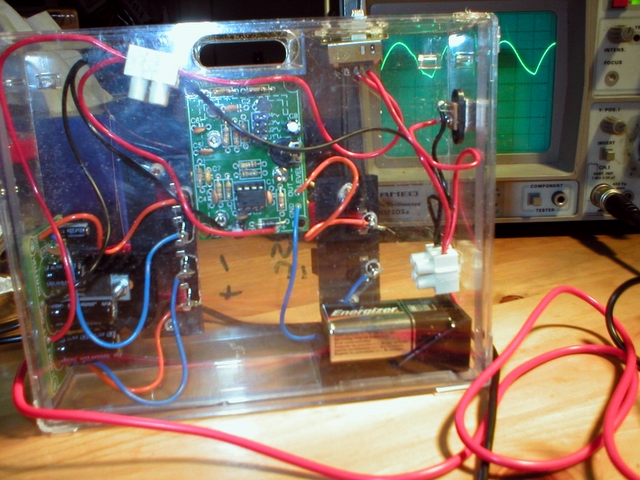
The build used a Velleman MK105 signal generator kit - which I soldered together first. I chained this to a Velleman K4001 7W mono amp kit - both bought from a Maplin. I was able to power both with a single 9 volt battery. I used speaker spring terminals for the wiring, first two for the output from the signal generator, then a set of four - 2 for the amp input, and 2 for the amp output. This way the generator could be used with or without the amplifier, or other sources could be passed through that amp.

I managed to get the cavities for the system drilled into the case that came with the velleman amp kit. It was a bit awkward as the material the case is made out of is thin and brittle. The material tends to split when drilled at all but the lowest speed setting. Equally, the material is hard to clamp effectively so it either cant be held firmly, or it splits.
When designing it, I did not manage to find all the dimensions for the socket parts, so I measured them, and put holes to mount them in the CAD design. Once it all works, I will post the design here.
The DC power supply hole was an awkward shaped one. This hole is an elongated D with two closely set small screw holes either side. It required a fair amount of time with a Dremel, and then some hard work with a set of needle files to get it right. If you are going to attempt this yourself then be warned, that was the part I found most time consuming. I am still debating on how I will mount the boards inside it. Initially, this is held together with hot-glue.
Once built, I tested this by connecting it up to an oscilloscope.

I used the result to test the diode bridge.