Some time ago, my wife and mother conspired to accidentally damage my Cybot. First my mother managed to damage the tabs on the front panels holding the IR dome, and then may wife managed to snap the Castor.
I used the dome parts from the racing cybot and managed to repair that, but as I did not have a spare Castor at the time, I had attempted an initial repair.
All thumbnails can be clicked to enlarge:
Pictures
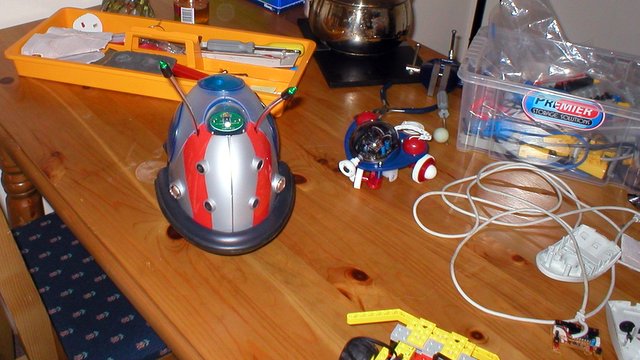
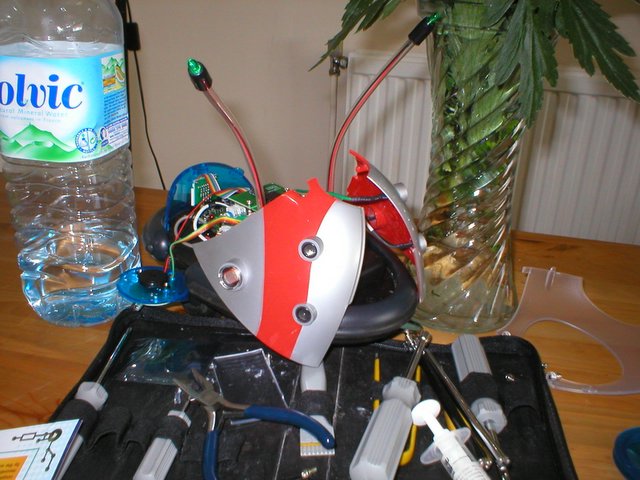
You can clearly see the replaced dome, and the cybot leaning forward with no Castor. The robot in the background is an audio sensing based robot kit.
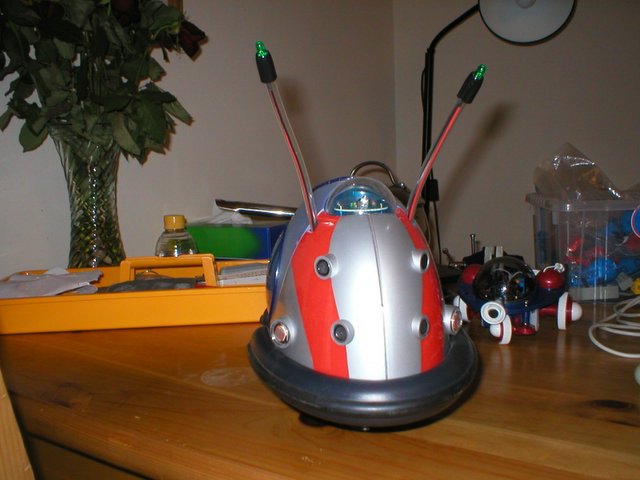
Here is an overview of the damage to the cybot - you will also note that one side of the line sensing part has gone. I am still not sure when that happened.
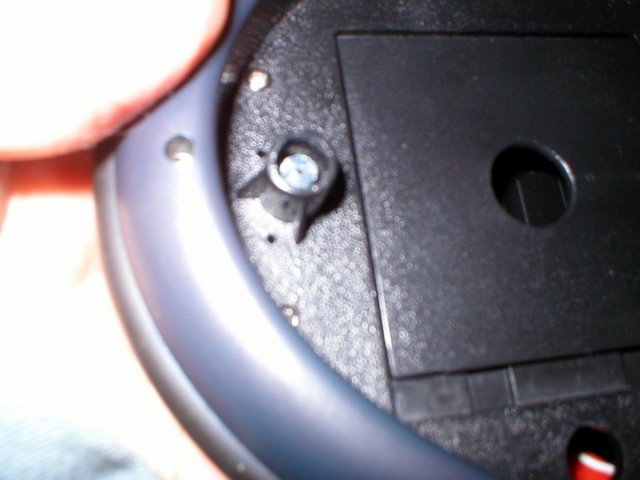
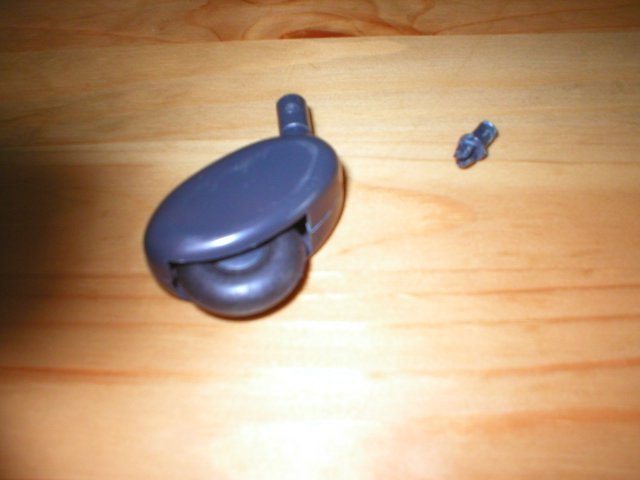
Now you can clearly see from the closeup where the pin has broken (I think my wife placed a few books on top of it). It is not a very clean break.
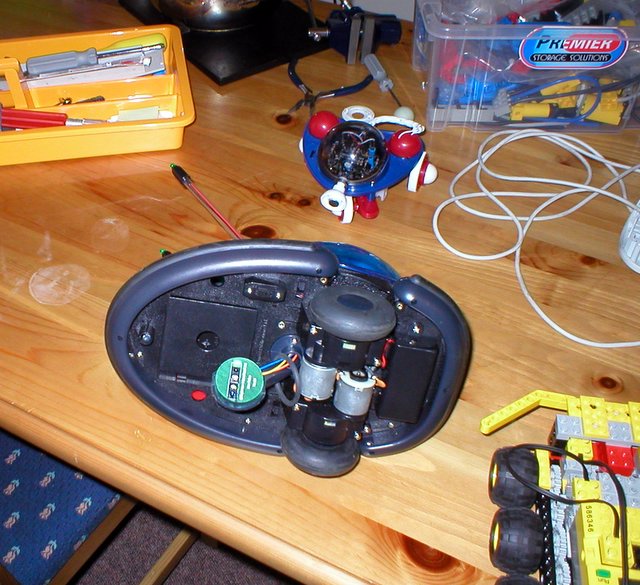
My first step was to open up my cybot and remove the pin.
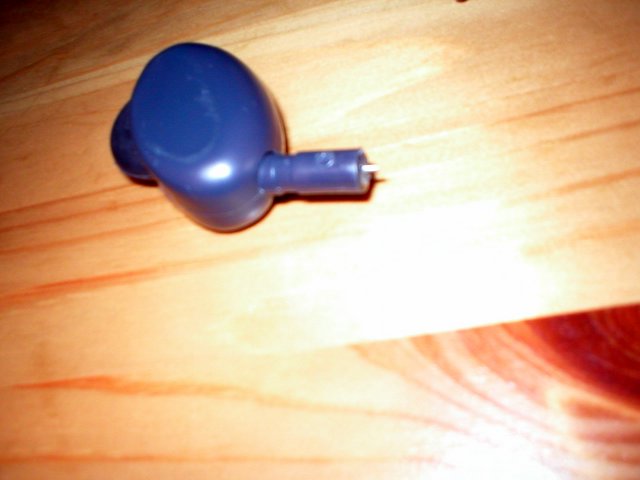
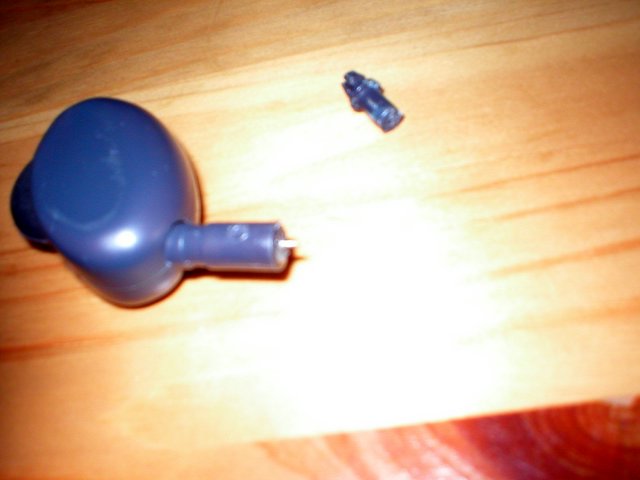
Then I examined the pin, and the rest of the Castor:
It was clear that I could not use this without some serious repair. My first attempt at repair was to drive a pin(taken from a picture holder) and drive it into each to make a receptacle for it, and try to glue the two pieces together.
I did something at the time (this was a few years ago mind) that I would consider now a very foolish move. I used the heat of a soldering iron and a set of pliers to drive the pins in. It was clamped and I was using goggles - but a soldering iron is not designed for this and the smell was awful and may have been toxic. Before you ever try anything similar, please read my Robot Building Safety Guide.
This lasted for about 2 meters, before it just fell off, and no matter which glue I tried, at was not going to happen. So I disassembled the Castor, keeping the wheel and axle, and discarded the broken pieces. I went back to the drawing board, and came up with a Lego substitute. I will post the rest of that when I dig out those photos - which were taken a few days later.