Tiny Drill Bit Holder For Tiny Toolkit
Tiny Drill Bit Holder
I’ve recently been expanding the Tiny Toolkit and making what is already there more accessible or fit better.
I’ve included a small hand-drill in the kit, and intend it to make small holes or finish holes. There was also a box of loose drill bits there - which didn’t quite fit in the pouch and had nowhere to go.
So I’ve improved it by 3D printing a tiny holder for the drill bits.
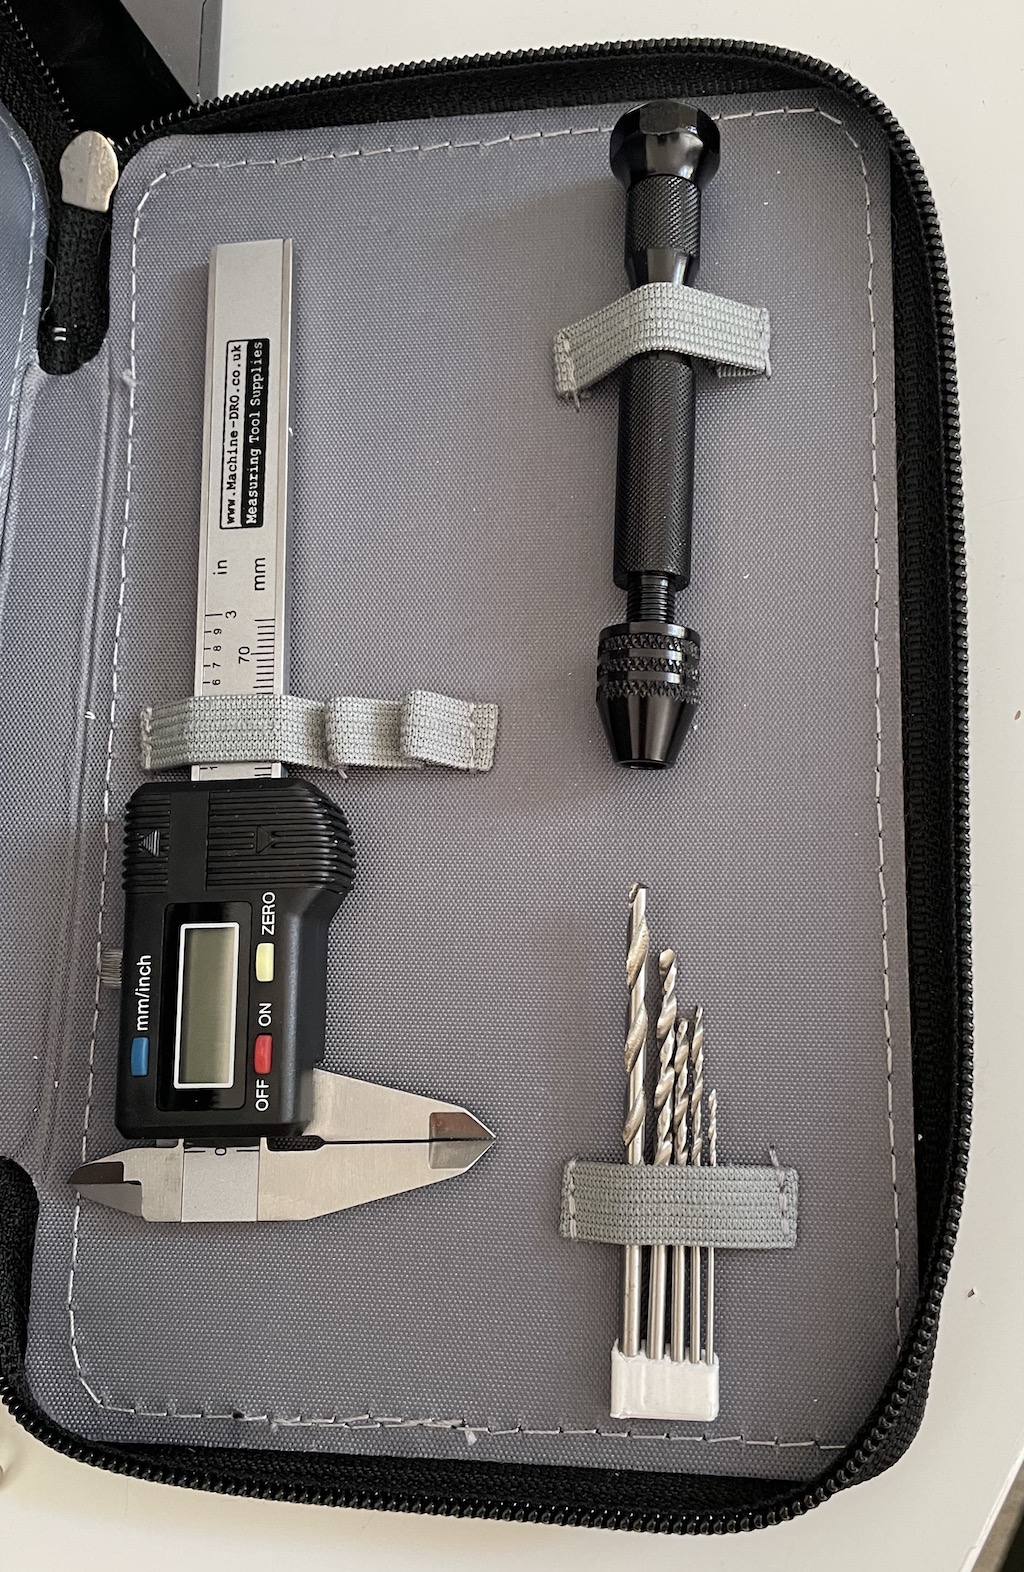
The picture above shows the toolkit. On the left is a small set of digital Calipers (more on that in another post). On the right, the top is the hand drill, held in place with elastic, and below are the drill bits.
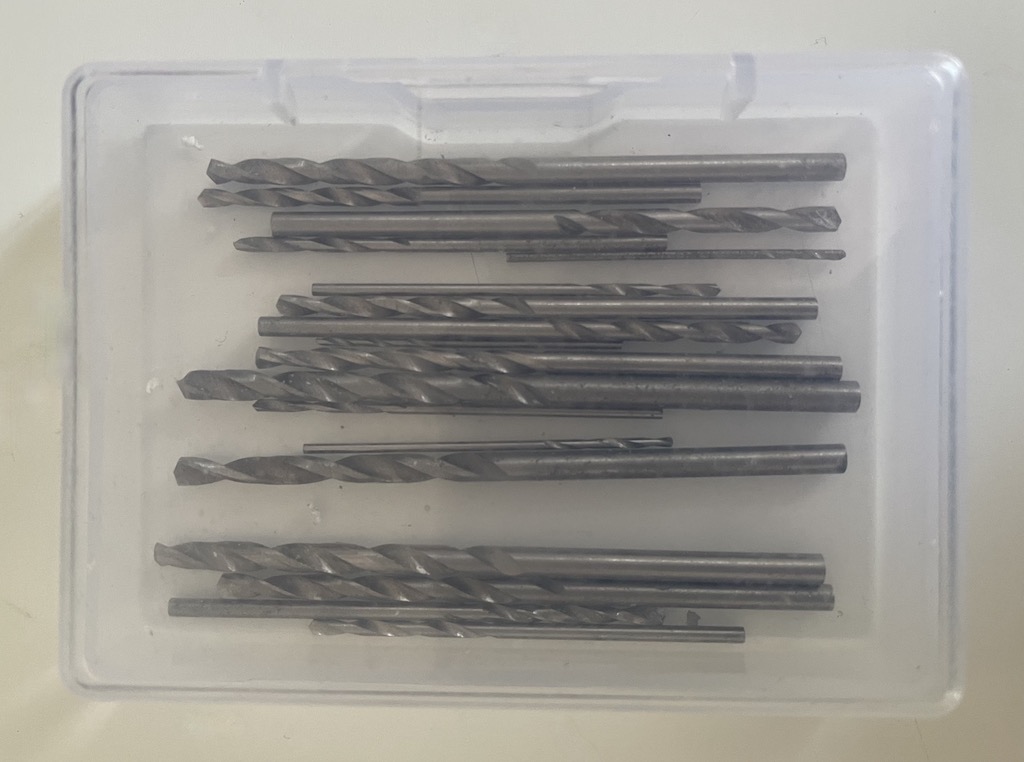
The tiny box of drill bits, beyond being bulky, has many odd sizes I’ll never use - likely imperial sizes, or other small offsets. It’s also totally disorganised. When using them, I frequently hunt and seek the right size with calipers. I can clearly do better than this, organise the most used drill bits into a smaller holder.
The design
I decided I needed the metric parts - 1mm, 1.5mm, 2.0mm, 2.5mm and 3.0mm as these are the sizes I use most often.
I used FreeCAD to design the part:
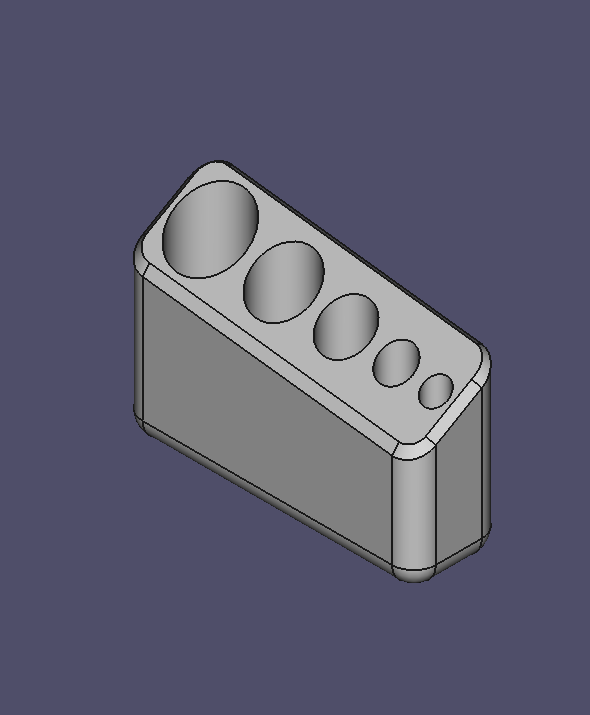
The Freecad part starts of with a bottom sketch with the drill holes, and I constrained for a 0.5 mm gap between holes (using a dot on their circumference and horizontal constraints). I used a ShapeBinder to pick up the part outline, and extrude that reversed, then extruded the whole sketch up to create the base and holes.
I used a draft to make a cut so the top face was inclined towards the user, and another draft to make the holder incline down towards the smallest drill bit.
I finally used a fillet to round corners, and a chamfer to take the edge of the top just a tiny bit.
I designed the wholes at 0.1 millimetre larger, although this may be pushing a little below this printers effective resolution.
3D printing
I then wanted to 3D print the part (my printer is a Flashforge Finder). I tried exporting as a 3MF part, but Flashprint would not import this (nor does CURA). I spent a little time trying to get CURA to work with my printer, I’ve still not got it to find it on the network, so it might be manual USB shuttling. This part is not too fancy, so I settle for Flashprint.
My first attempts at printing didn’t work at the first layer. I tried printing straight up, so there would be no question of the precision around the holes. The first layer kept detaching. I could have reoriented the print, but I was still keen on having the holes be the best part. So after re-levelling the bed (Fail) and trying to offset the Z closer (still fail), I decided to print with a raft.
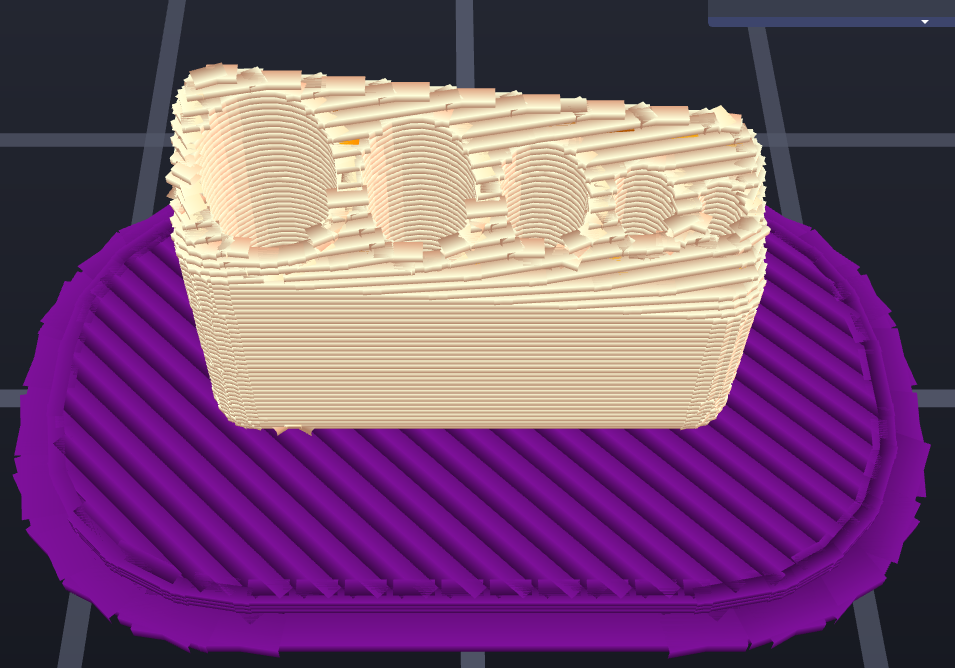
This worked - I was able to gently pry the raft of with pliers. Now despite my care with the holes, I still needed to ream them a little with their respective bits.
Conclusion
This looks ok - but some of the bits are difficult to pull out, and one is loose - it can rattle into the rest of the toolkit - not ideal. I might just use a tiny bit of Bluetac in the end to stop that. I knew the printer resolution wasn’t quite going to be perfect for this.
I’ll need to adjust how the bits stay in the holder, and perhaps look at commercial tool bit holders for more inspiration.
The elastic holding it kinda works, but I’m thinking of using thread to stitch the holder in place on the kit instead. Still considering that - I may even add a notch for said thread too.
The part isn’t perfect, could be improved upon. However, it does retain most of the bits, and does stay in the elastic. I can also easily find the exact drill bit I meant - without the caliper hunt and seek routine. So while this is worthwhile, and immediately makes the toolkit more useful.